Translator

Friday 25 November 2016

My Dream Post

Hi everyone, I am so excited to share some happy news with you all today, which I am still on cloud nine about.

I had an email this week from Maja Design, asking if I would like to share some of my craft projects I have made over the past few years using their exquisite papers over on their blog.

Now how could I refuse an offer like that !

I feel truly honoured to be sharing my inspiration on their blog today and would love if you popped over HERE to see them all. You will also see amazing projects from their very talented Design Team, so well worth a visit.

I thought I would revisit a few projects on my blog today, different to some I am sharing on Maja Designs.

                               http://julizdesignpost.blogspot.co.uk/2014/01/thank-you-everyone.html
                     
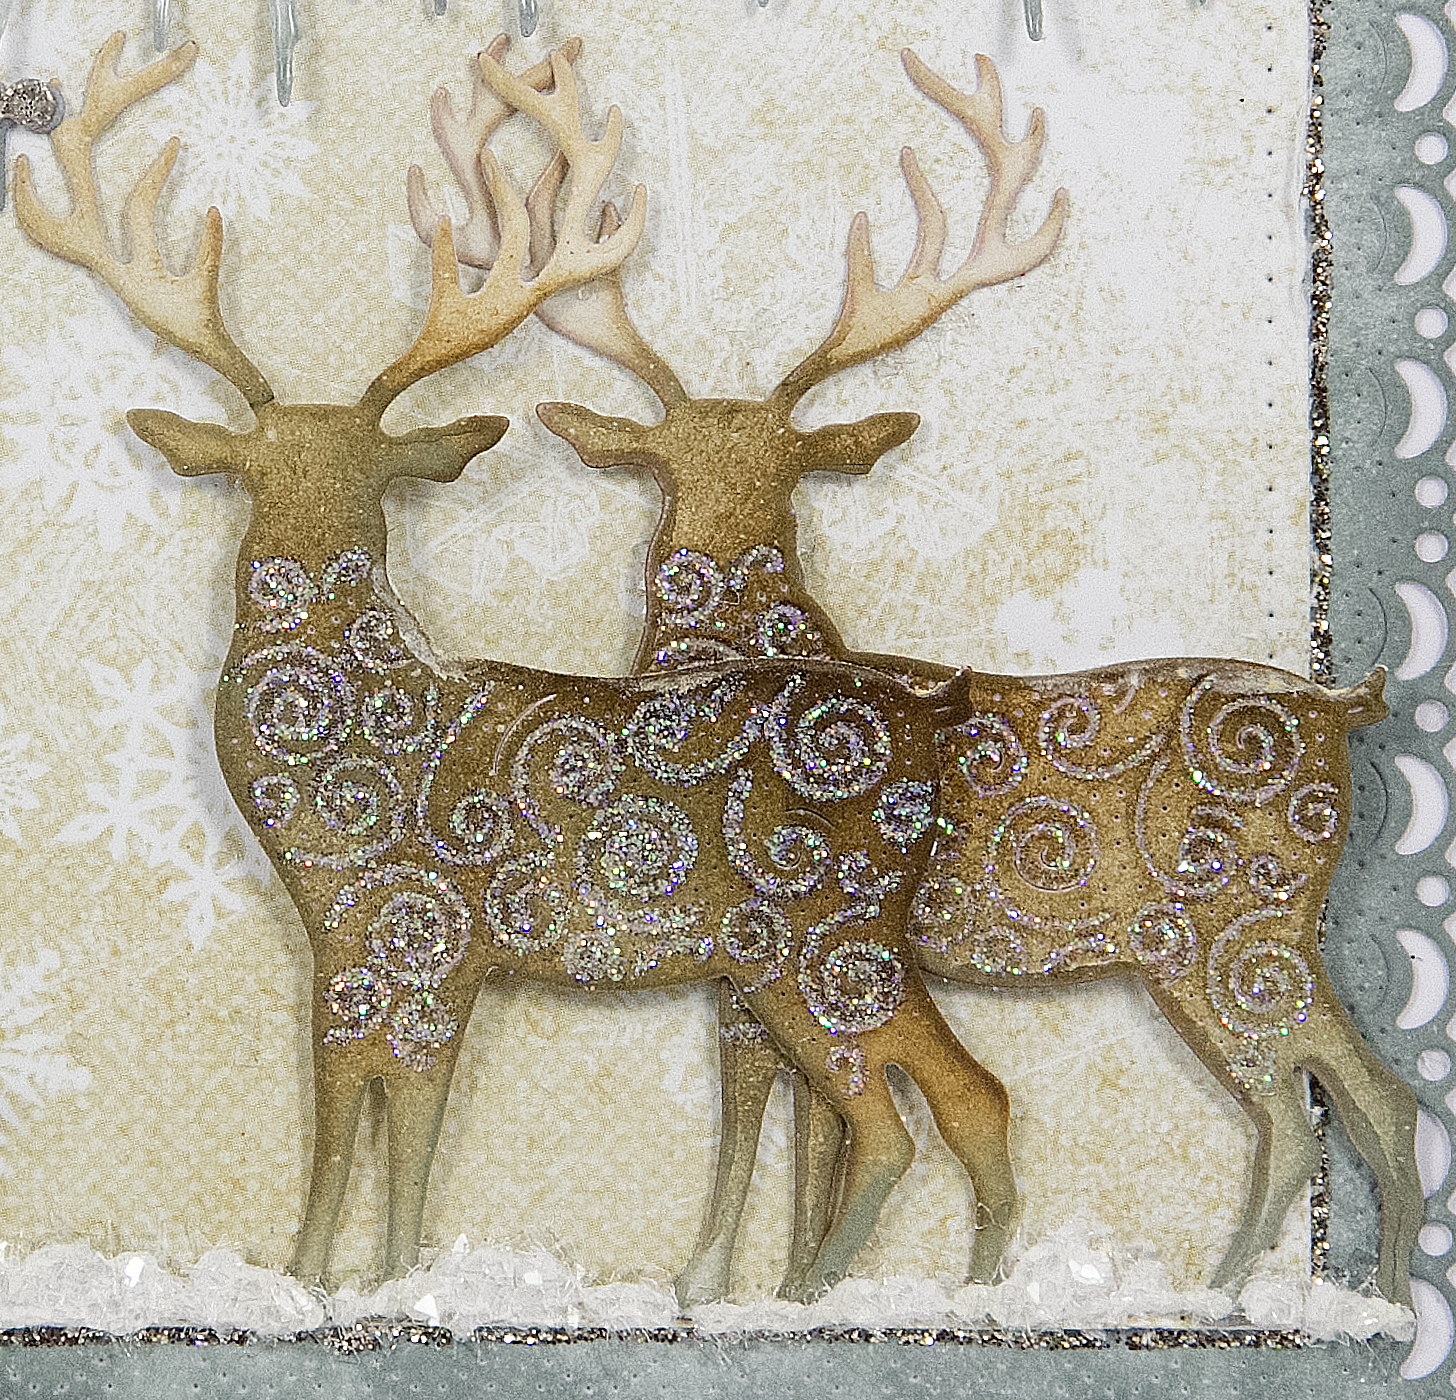
This card I am showing above I blogged back in 2014 just when I started blogging. It has very special memories to me as it was the first time I created and fell in love with Maja Design papers. I won my first ever challenge at Cheery Lynn Designs with it, so I felt only right to share it again. The photo doesn't do it justice as my Husband Chris didn't have his light tent at that point.

                              http://julizdesignpost.blogspot.co.uk/2016/09/someone-special.html

I love how the papers co-ordinate with such beauty.

                     http://julizdesignpost.blogspot.co.uk/2015/07/i-just-wanna-make-nice-things.html
                          
This is a mixed media project I made using scraps of Maja Design papers in the background, I just can't bear to waste any small scraps of their papers that I have. I also like to use stitched accents on their papers. 

                                   http://julizdesignpost.blogspot.co.uk/2015/12/jingle-all-way.html  

I made this as a Christmas present for my parents last year, it took me a few weeks to complete.

Thanks so much Maja Design for this amazing opportunity and making my dream come true and thank you to my followers for taking the time to visit my blog today.

Crafty Hugs, 

Julie x

Thursday 24 November 2016

Mirror Mirror


Hi everyone, for my DT post with Craft Consortium I have used the exquisite paper pad Bloom Beautiful. Some of you will be aware I adore this paper pad but for anyone that is new to this paper pad please check it out HERE.


I decided on an easel card for this design and fussy cut out my bird, feather and rose decoupaging back onto the cardstock with Silicone Glue.


My perfume bottles were stamped and fussy cut adding a layer of Glossy Accents for a glass look.


I layered satin ribbon behind my lace ribbon to make it pop and another strip of satin ribbon on top of my doilies with a stunning embellishment from the Always and Forever collection.


Thanks so much for stopping by today to see my card and do check out Craft Consortium to see their vast range of stunning embellishments, paper pads and Decoupage papers on Facebook for inspiration and regular giveaways, you will also find them on Pinterest, Twitter and Instagram.

Crafty Hugs, 
Julie x  

Craft Consortium Products Used :

Wednesday 23 November 2016

'Twas the Night Before'


Hi everyone, today for my DT Card at Cheery Lynn Designs I am sharing with you my Festive Scene. I love how Cheery Lynn's dies can make so many wonderful scenes on your cards/ scrapbook pages. On my card you will see how I have adapted my Holly Wreath die and used elements from other dies to create this. So let me take you through all the techniques on it.


My card measures 5" x 7", I tattered a couple of layers of paper and glued in place. My Garland has been made from the Christmas Wreath by cutting it into sections. I coloured my die cut with Copic Pens adding Glossy Accents onto my Mistletoe. 


My berries on the Garland were made from Red Stickles glue, once dry I added a drop of Glossy Accents to form the shape of berries. The bells were coloured with a gold pen and shaded at the sides with Archival ink.


Santa was also coloured with Copics, dabbing some Stickles onto his hat to make it Sparkle. His beard, eyebrows and hat I added Snowtex and some Glamour Dust too. I mounted him onto my Stacker die to frame him on the wall.


My tree has also been coloured with Copics adding Stickles onto the baubles and once dry a layer of Glossy accents for a domed effect.


I just adore this fireplace and had a lot of fun building it up. I die cut out the fireplace 3 times layering on with foam strips for dimension, adding an extra layer onto the mantle. I outlined the brick embossed areas with a Fineliner Pen and added a different shade of paper to the back of the fire. I shaded my logs with Distress inks and drop shadowed with grey cardstock, adding in place with Silicone Glue. My flames are coloured with Copics and a layer of Glossy Accents, off setting a few layers for a natural look.


The Fireplace die also comes with the picture frames, candles and stockings. On this card I used the Christmas Stockings and Parcels from the Whimsical Set adding Candy Canes onto my Stockings for extra detail. You will find these in the Build A Christmas Tree die set listed below.

Shop at Cheery Lynn for: 

Thanks so much for stopping by today and for your lovely comments left on my cards. It would be great to see you joining in the Bi-Weekly challenge over at Cheery Lynn Designs giving you the chance of winning a $20 Shopping Spree.

Crafty Hugs, 
Julie xx

Friday 18 November 2016

Pussy Cat, Pussy Cat !


Hi everyone, I had a trip to our local Parkinson's Charity shop which is like an Aladdins Cave filled with lots of treasures and furniture to upcycle. I love cats and when I saw this little white one, I knew right away some of Craft Consortiums Decoupage paper would give it a new lease of life.


Normally I would have given the item I am about to decoupage a coat of Gesso, but with it being White already I just gave it a wash to get rid of any dust and grease on it.


I glued my torn pieces of paper in place using Mod Podge matte.


Once dry I added a couple of coats of DecoArt Gloss Varnish  and finished off with a new collar for my cat using embellishments from the Always and Forever Collection.

Thanks for stopping by today to see my DT project for Craft Consortium and do please check out Craft Consortium to see their vast range of stunning Embellishments, Paper pads and Decoupage papers on Facebook for inspiration and regular giveaways, you will also find them on Pinterest, Twitter and Instagram.

Crafty Hugs, 
Julie x 
Craft Consortium products used:


Monday 14 November 2016

Happy Winter Card


Hi everyone, hope you had a lovely weekend.Today for my DT card at Cheery Lynn Designs I am sharing some inspiration with my Festive Winter card, so let me share my tips on this card with you.


I started by mounting a couple of Stacker Layers together to form the frame of my card adding Stickles around it. My Icicles I also added a little Stickles onto the white cardstock and let it dry. Once dry I used Iced Spruce Distress Ink at the tips of my Icicles and finished with a layer of Glossy Accents for an icy look.


My sentiment and snowflake were heat embossed with two shades of Silver embossing powder. 


The Fir trees are die cut from the versatile Camping Set, I also shaded with Iced Spruce and I ran a glue pen along the embossed areas and added an extra fine glitter for added sparkle.


My reindeer were also shaded with Distress Inks adding some sparkle onto them in the same way I did my trees. I do love how you can add the extra sparkle onto the embossed areas.


To finish my card I used a Snow Writer Pen adding onto my trees and as a layer of snow on the ground. Whilst still wet I added some clear Glass Glitter for extra sparkle.

Thanks for stopping by today and good luck to everyone entering Cheery Lynn's Bi-Weekly challenge.

Crafty Hugs, 

Julie x
Shop at Cheery Lynn For -

Wednesday 9 November 2016

Decoupage Pillow Boxes


Hi Everyone, today for my DT post for Craft Consortium I am showcasing a couple of their Festive Decoupage Papers from their amazing collection. I like to make pillow boxes to place small gifts in at Christmas time.

I started by gluing my Decoupage Papers on to cardstock and once dry I used my pillow box die and cut them out. The Decoupage Papers work far better in this die than normal cardstock as the don't crack along the seam.


Next the fun part of embossing my die cuts with different powders to compliments each pillow box.


My Snowflake was finished in the centre with this elegant Pearl and Diamanté embellishment.


My Poinsettia was finished with a Diamanté buckle which I added micro beads into the centre.

Please checkout Craft Consortium to see their vast range of stunning embellishments, paper pads and Decoupage papers on Facebook for inspiration and regular giveaways, you will also find them on Pinterest, Twitter and Instagram.

Thanks for stopping by today, your visit and comments are always appreciated.


Crafty Hugs,
Julie x


Craft Consortium Products Used:

Cheery Lynn Products Used:
B148 Holly Flourish
B146 Pine Branches
B342 Poinsettia Strip
DL175 Laced Pine Snowflakes
DL169 Snowflake 5

B610 Snowflake Set 1

Friday 4 November 2016

Tree Shaker Card


Hi everyone, today for my DT post at Cheery Lynn Designs I am sharing some Festive inspiration using their new Christmas Tree shaker die. I have made this card in mind that many of us like to make a lot of Christmas cards, so this is a design that won't take too long to make. My card measures 4 and a half inches square, this is smaller than my usual square cards I make.


My Christmas Tree was coloured with a mix of Distress Powder and a sparkly powder and filled with Metal Confetti, Micro Beads and Glass Glitter.


All my sparkly and snow layers were made by heat embossing with different colours of powder after die cutting them out. This takes a little longer to do but has the advantage of your glitter staying in place and not falling off. 


Thanks so much for all your wonderful comments on Blog Hop Day, I loved ready them all. It would be great to see you sharing your creativity with Cheery Lynn Dies in their Bi Weekly Challenge with a chance to win a $20 Shopping Spree.

Crafty Hugs
Julie x

Shop at Cheery Lynn for -  


Tuesday 1 November 2016

Cheery Lynn Designs - Shaker Dies Blog Hop


Hi everyone. It's blog hop day at Cheery Lynn Designs and we are all super excited to be sharing our designs with the fun new Shaker Dies.


We have all been assigned a different Shaker die to use for the hop and I was given the Heart Die along with the Love You and Heart Shakers.


My card is made in a Shabby Chic style adding Silver Embossing around my Shaker Heart by rubbing my small Versamark ink pad around the edges and heat setting my Powder in place. My shakers were placed under the acetate and I also added some Glass Glitter for extra sparkle.


The edges of my card were tattered and embossed. My flowers I inked in the centres adding some bling into the centres of the smaller flowers and Silver Flower Soft into the larger ones.


I had a lot of fun making this card and they make a great noise when shaken. Please check out the video HERE on how to make these fun Shakers.

I'd love if you left a comment before hopping to your next stop on the hop - Lisa's blog.

Please carry on the hop to see the rest of the teams inspiration  and to be in with a chance of winning a $20 shopping spree at Cheery Lynn Designs.

Thanks for stopping by today,

LinkWithin

Related Posts Plugin for WordPress, Blogger...
01 09 10